Explore far places with the digital periscope.
View the Software Code on GitHub dermrvn-code/LookAround-Software
View the Hardware Code on GitHub dermrvn-code/LookAround-Hardware
View the Editor Code on GitHub dermrvn-code/LookAround-Editor
View the Core Code on GitHub dermrvn-code/LookAroundCore
View the Sample Worlds on GitHub dermrvn-code/LookAround-SampleWorlds
Software
The software for the LookAround was developed in Unity.
To start the project, you need to have Unity installed on your machine. The project is built in Version 2022.3.21f1 but should work with any version of Unity 2022.
To open the project, simply clone the repository and open the project over the Unity Hub. Downloading it as a ZIP and then opening could cause issues with the project, as some images and other files are stored using Git LFS.
Concept
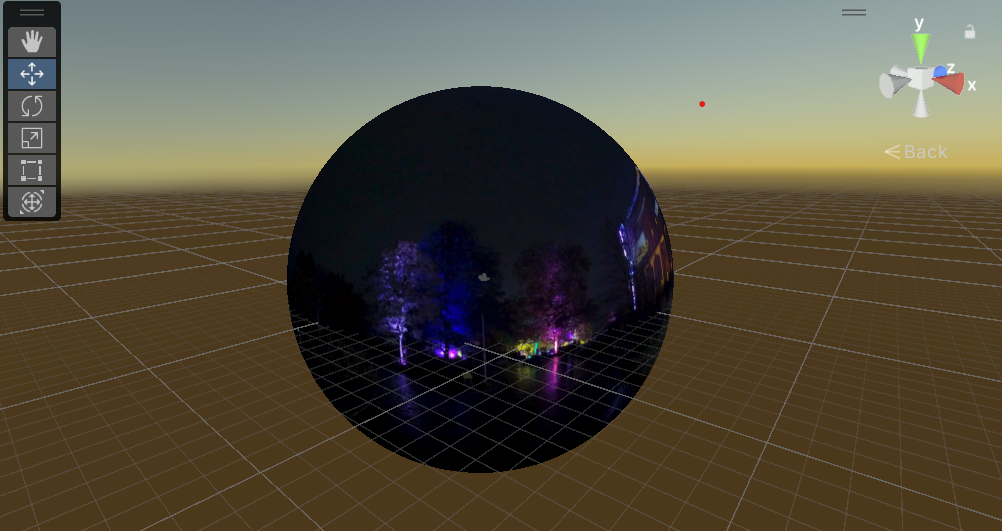
The basic concept of the Unity project is a simple sphere, on the inside of which we place a 360° photo or video. Inside the cube is the main camera, which then rotates and zooms corresponding to the user input. As a standalone application, the user can rotate and zoom using the arrow keys. With the space bar, the user can interact with the objects in the scene.
For the later use of a external display and an VR headset, the display is split in half. As seen in the following picture:
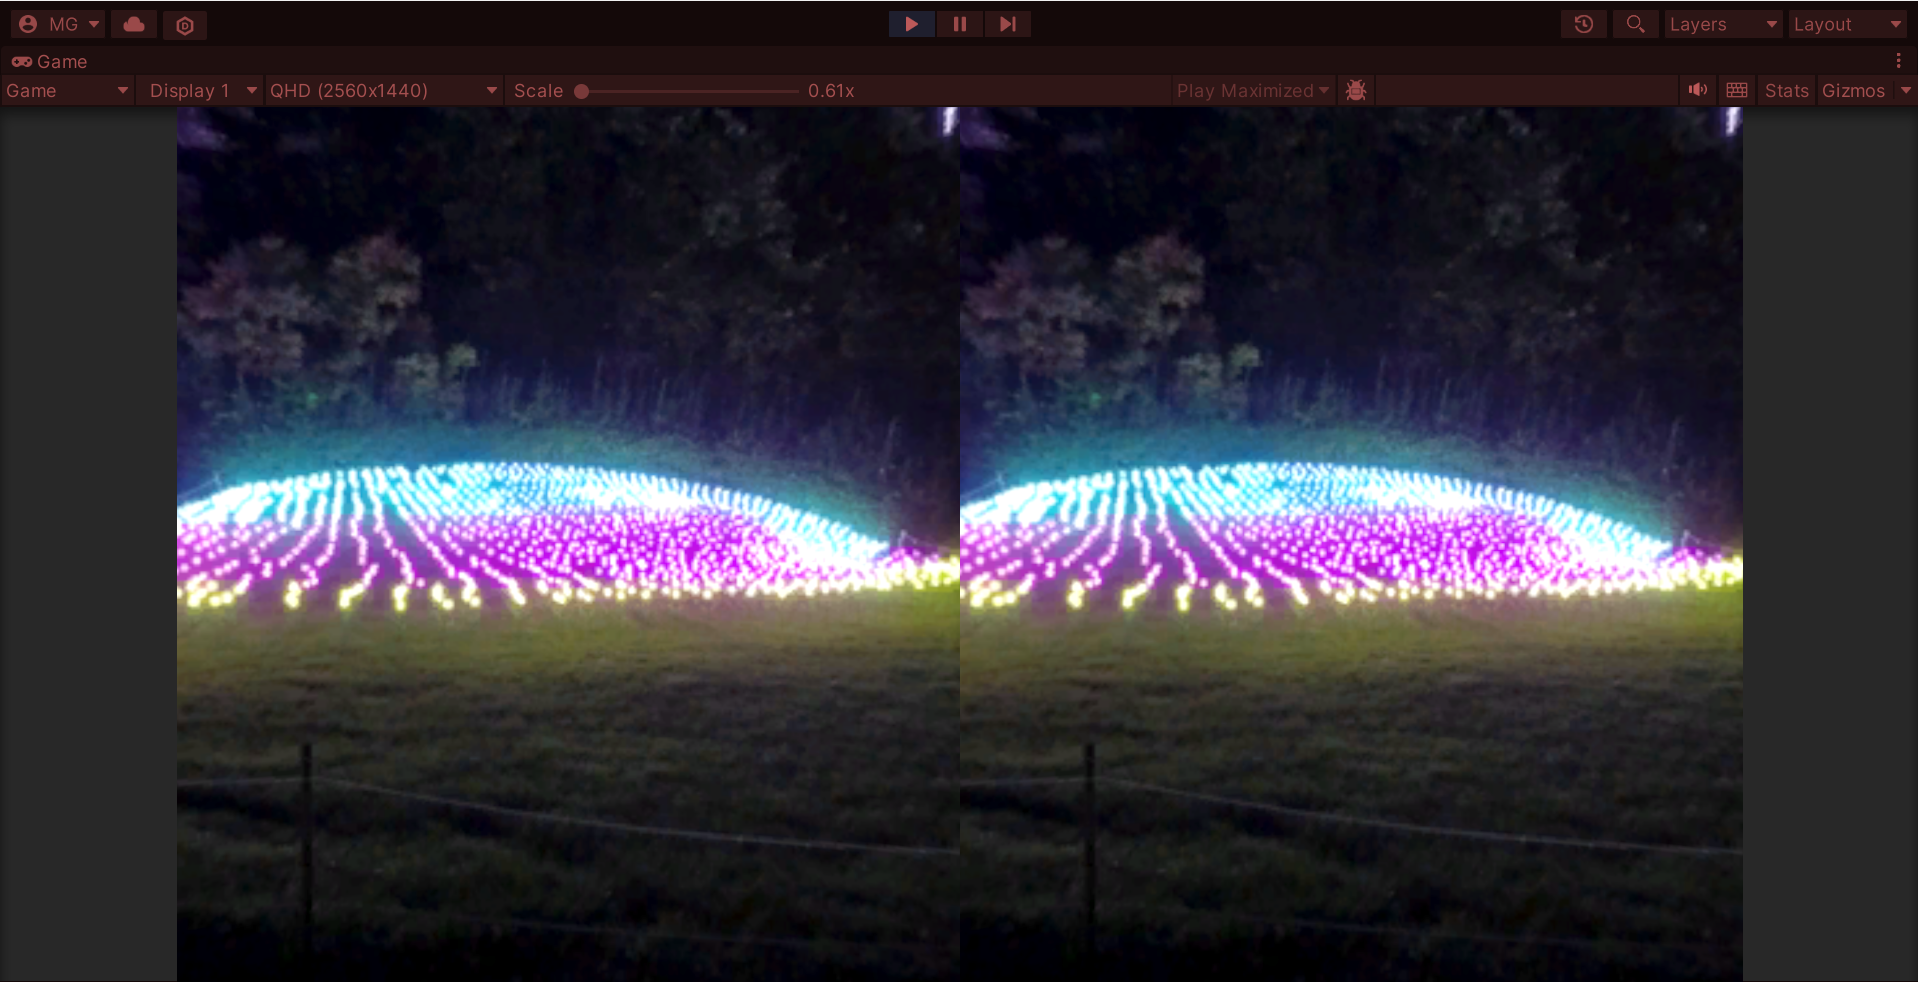
This is achieved with using two cameras housed in a parent object, which rotates.
Serial communication
In connection with the hardware, the Unity project listens to the serial port for the user input. The user input is then used to rotate and zoom the camera. The format used in the serial communication is as follows:
rotation;interaction1;interaction2;zoomPercent;height;message;
While the rotation is a value between 0 and 360, both interactions are boolean values, so either 0 or 1. The zoomPercent is a value between 0 and 100, while the height is a value between 0 and 200. The message is an int, which is mapped to an array of strings in the Unity project.
Settings
Inside the unity app, a setting menu is implements, which can be opened via ESC.
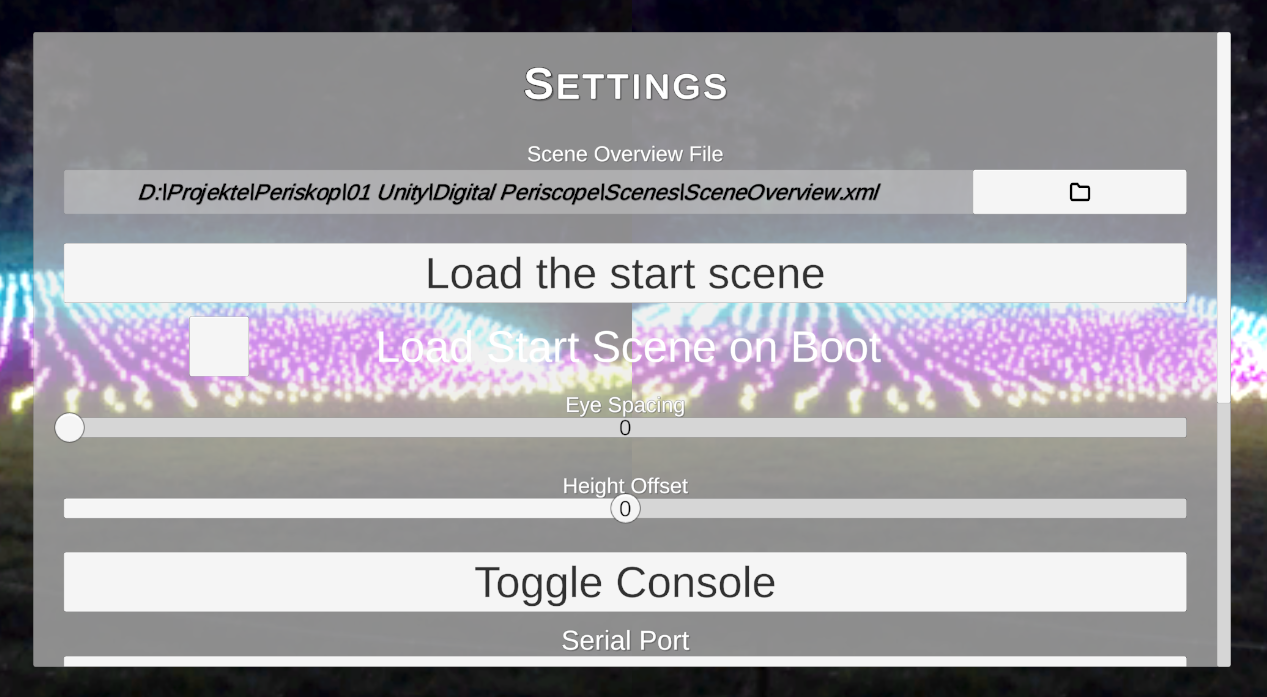
Inside the settings, you can set the scene overview file, load it and set it to be loaded on startup. What this scene overview is, is explained in a later section. Besides that, the settings allow to adjust the spacing between both eyes. A height offset can also be set here.
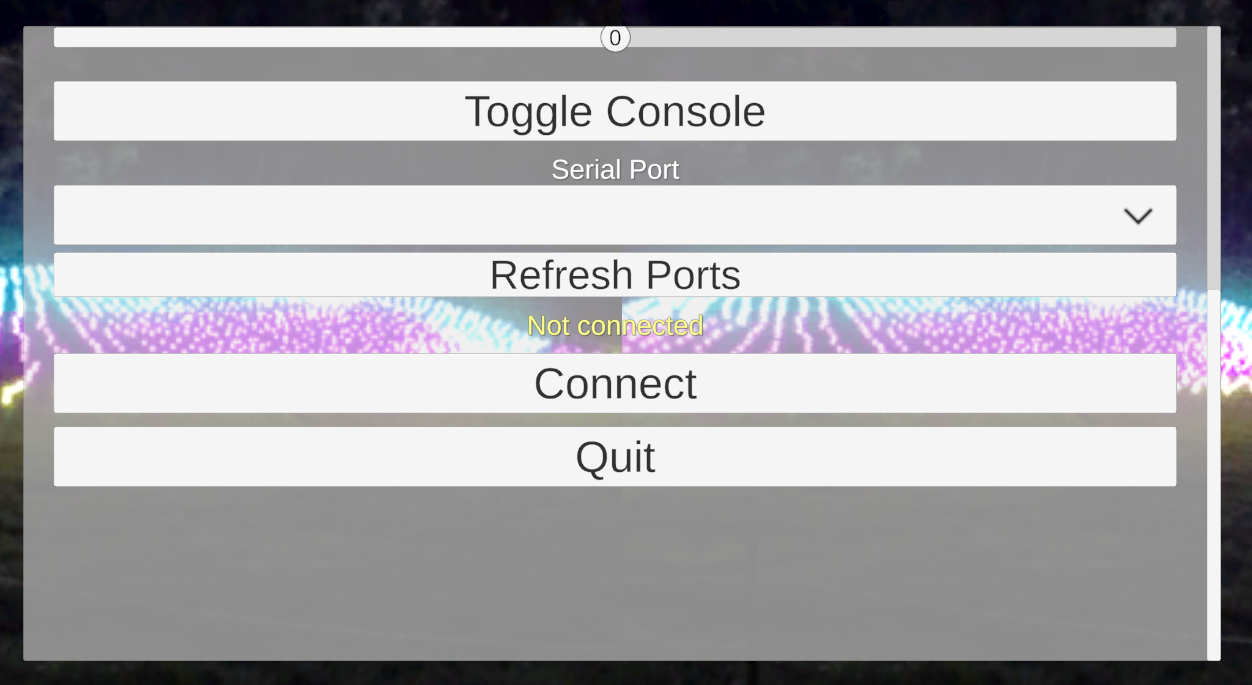
Below these settings there is a button to toggle the in app console. This console can be adressed inside the Unity code with DebugConsole.Log(_message_).
When connected to a serial port, it also displays the current values coming from the hardware.

Right under the console, there is a dropdown to select the serial port you want to connect to. You can refresh the ports and also see the status of the connection. When pressing connect, the app tries to connect to the selected port. When connected, the button changes to disconnect.
The last button is for Quitting the application.
Scene Overview
The Scene Overview file is a simple xml files, which describes the scenes loaded by the game. This file can be modified, without rebuilding the software. Via the settings you can also switch between different scene overview files, to build different environments. The file is structured as follows:
<Scenes>
    <Scene path="SceneOne/scene.xml" name="scene1" startScene="true"/>
    <Scene path="SceneTwo/scene.xml" name="scene2"/>
</Scenes>
Inside the Scenes tag, the different scenes are described. Each scene has a path, which is the path to the scene file. The name is the name of the scene, which is used in interactions. The startScene attribute is a boolean, which describes if the scene should be loaded on startup. Setting this is optional for all scenes that arent start scenes. But one scene MUST be declared as start scene.
Inside the corresponding scene.xml files for each scene, the scene is described. The file is structured as follows:
<Scene type="video" source="video.mp4">
    <Element x="100" y="0" type="text" action="toScene(scene2)">Zu Szene 2</Element>
    <Element x="200" y="0" type="textbox" icon="info">Hier könnte Ihre Werbung stehen</Element>
</Scene>
The Scene tag describes, wheter the scene is a 360° photo or a video. The source attribute is the path to the photo or video file.
Inside the Scene tag you can optionally give Elements shown in the scene. You can place elements of types text, textbox and image. The x and y attributes describe the position of the element in the scene.
On an element of type text, you can set an action attribute, which is a string that is executed when the element is interacted with. A scene change is done by calling the function toScene(sceneName).
The textbox type has an attribute icon, which is the name of the icon shown in the textbox. Possible icons are warning, question, info and play:
![]()